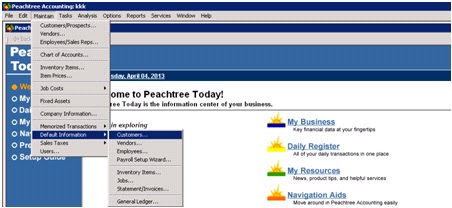
Maintain inventory item
To maintain inventory item record, click maintain Manu
on peach tree soft ware and select “maintain inventory item”

When you open it the new window will be open

Enter the new item ID for this item. When you fill
all the imp information select save to save the information.
Header
field
On the above of folder tab the inventory header
located. It consist following items.
Item
ID enter a unique ID for every new item
Description
a
short description of this item should be write there
Next
and back button use this button to know the existing
item. Select back to see previous item and select next to see next item’s ID,
description.
Item
class this identify the item class of this item. This tells
what type of inventory you concern with.
General
tab
·
A detail description of sales or
purchase item at first step
·
Set price level for this item
·
Select item tax type weather this item
is taxable or exempt
·
Last item cost for this item
·
Select cost method use for this item. LIFO,
FIFO, AVERAGE
·
Select GL sales Acct, GL inventory Acct,
GL cost of Goods Acct added by look up button
·
Item type whether perishable in nature or
not. Location of the item in godawn.
·
Units/ measure of the item
·
Weight of this item
And on the right side, mention Qty on Hand, Qty on
sale order, Qty Available, Qty on purchased order
·
Minimum stock
·
Reorder Quantity
·
Preferred Vendor ID (can be selected by
look up button)
·
Preferred Buyer ID (can be selected by
look up button)
Customer
fields

To enter custom field information of this item
select custom Fields tab in the maintain inventory item
History

To record the history of this item select history
tab. Here you select period history, # Units sold, Sales, # Units received,
Cost.